growing guide

Phlox (Annual Types)

If you’re looking for bright, bold perennial color in mid to late summer, garden phlox could be the perfect contender. Phlox paniculata (Polemoniaceae family) comes by many common names including summer phlox or tall phlox; these tall plants are a welcome addition to any perennial garden as they bloom after the spring flowering perennials fade away. They can be enjoyed in the garden by both people and pollinators and make a long-lived cut flower when brought inside. Happy within USDA hardiness zones 4-8, they can be grown across most of northern and central USA and thrive with minimal care or inputs, the perfect candidate for hands-off type gardeners.

growing guide

preparation

Order your plugs so they arrive in the spring when the chance of frost has passed. Harden them off over the period of a couple days and plant them out in an area that receives full sun – if planted in shade or part shade, the plants will be weak and floppy, with few flowers. It’s important to plant them out in a timely manner to prevent them from becoming stressed or rootbound in the plug trays; in the rare chance they arrived with buds or flowers already developing, pinch them off so the plant can put energy into new roots and shoots. Prepare the soil before planting by incorporating some compost and granular fertilizer; annual phlox prefer soil that is loose and well draining (yet moisture retentive) with medium fertility. Space plants approximately 6-9” apart in the garden, a little closer in a patio pot. When the plugs settle in and start to actively grow, they benefit from a weekly or bi-weekly dose of water-soluble fertilizer – a balanced NPK ratio, or a generic fertilizer made specifically for blooming annual plants will work – whatever you have access to at your local nursery.

growing guide

Growing

As the plants grow, they would benefit from a pinch – or two pinches – or three pinches. The more you pinch these plants back and shape them while young, the more side branching and long stems you’ll get later in the season. You’ll find the first flowers come on about 8-10 weeks after planting on quite small stems; we like to pinch these off and keep the plants deadheaded as best as possible to help promote vigorous growth and continuous blooming. Growth rate will depend on the temperature and weather conditions – warmer temperatures and more sun will increase the growth rate and the speed at which you see the first flowers appear. If you’re growing them specifically to be cut, they would benefit from some support to keep the stems straight and upright; if this is not your main goal and you simply want to enjoy them in the garden, they can remain unsupported but know they will take on a sprawling habit and can grow in an untidy fashion. Stems can reach 1.5-2 feet in length during the peak growth, but this can vary depending on the nutrient content in the soil and the amount of water and fertilizer provided during the growing season; be sure to irrigate regularly, you want the soil to remain in the sweet spot – damp, not overly dry or over-saturated. Phlox are typically pest and disease resistant but watch for typical garden pests such as thrips and aphids and try to keep the foliage dry by watering just the soil.

growing guide

Cut Flower tips

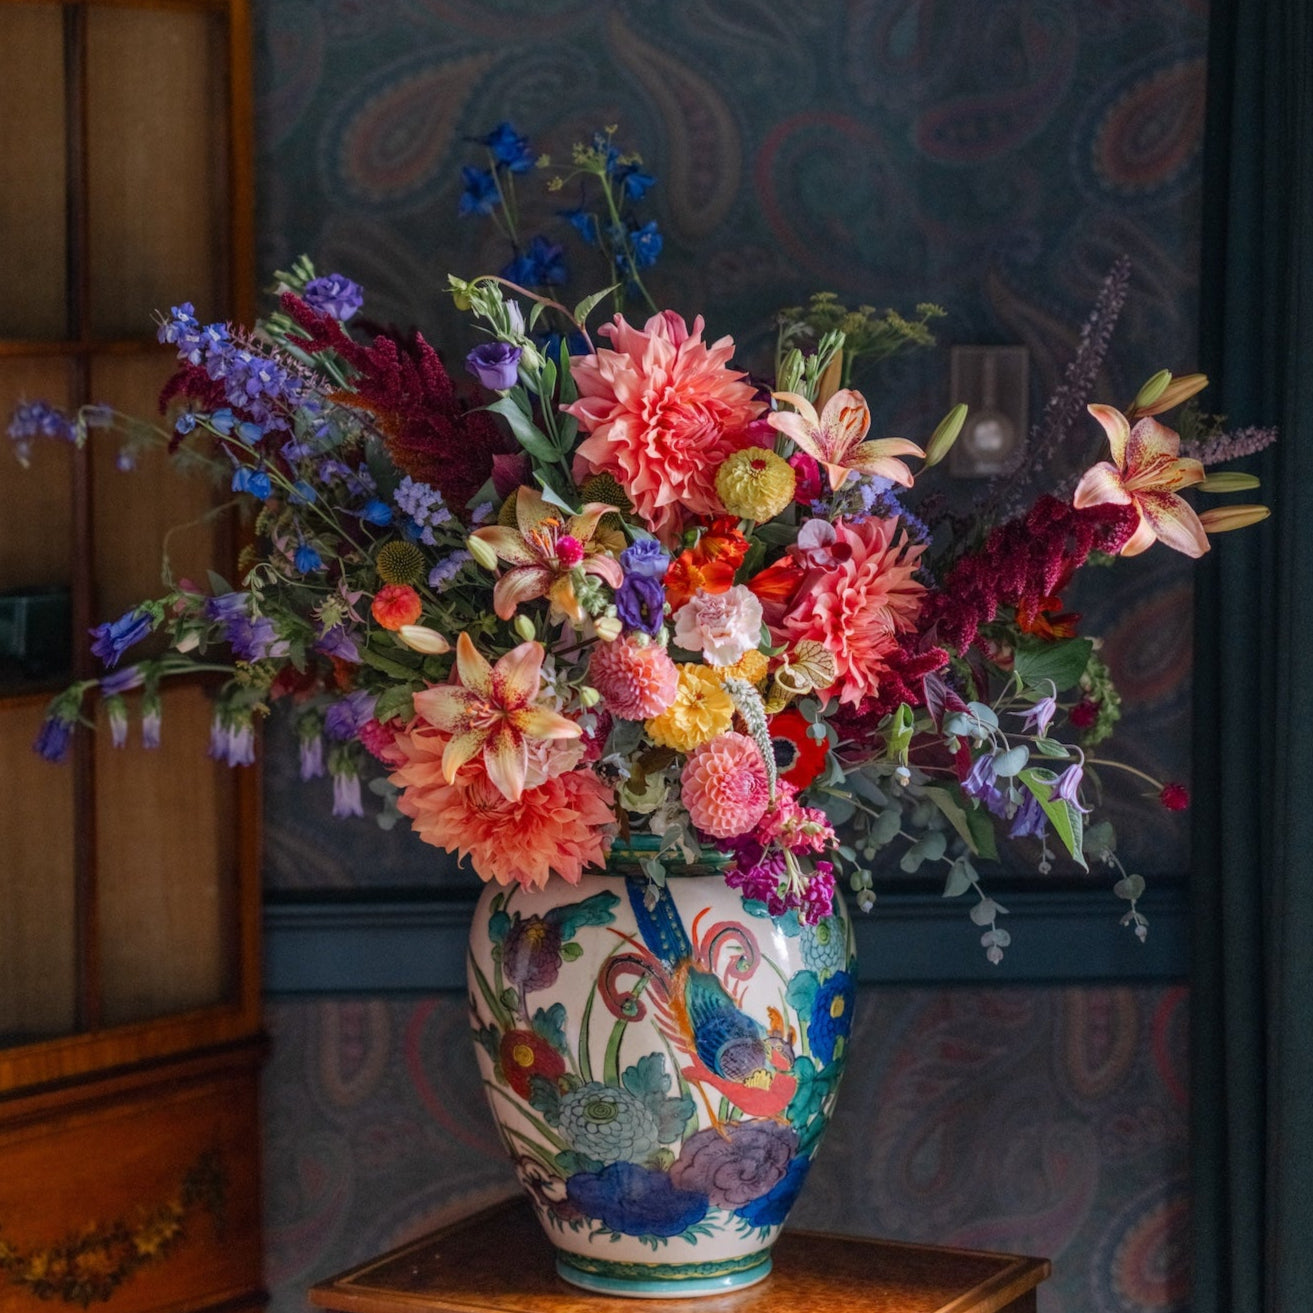
Perennial phlox can last over a week in the vase, so we encourage you to cut some stems to enjoy inside. The ideal time to cut phlox flowers is when a couple florets in a cluster are fully open and the rest are still in bud. Place cut stems immediately into fresh, clean water and watch the buds unfurl over the course of a few days. To keep the flowers looking fresh, change the water regularly and re-cut the stems with each water change; floral food will help extend the vase life, but they will be happy in clean tap water as well. When harvesting phlox, cut them close to the ground, similarly to when you’re cutting the plants back after they have faded. This will encourage new stems from the base of the plant, providing additional flowers later in the season. If you notice flower production declines after 4 or 5 seasons, the plants may need to be divided; do this in the spring just as the plants are breaking dormancy, or in the fall when the plants are done growing for the year. Gently lift the root ball, and using a sharp spade cut it in half or into sections depending on its size – each section will eventually grow into a new clump.

1 comment

Hollis Lopez

Hollis Lopez

I received my cherry caramel with the rest of my plugs and I repotted them in 4" pots with the rest of my order and have had to move them in and out of the greenhouse since our central Oregon weather is so changeable. 80 one day and 45-50 the next. In the 4" pots everything else I ordered looks fine but these are yellow, spindly and look about to die. They have been outside in full sun, protected at night and kept well hydrated. They look really sick so I am not sure what is going on with them. Should I just plant them out in the garden and hope for the best? I use Espoma organic potting soil in the 4" pots. I have not yet fed them anything.

I received my cherry caramel with the rest of my plugs and I repotted them in 4" pots with the rest of my order and have had to move them in and out of the greenhouse since our central Oregon weather is so changeable. 80 one day and 45-50 the next. In the 4" pots everything else I ordered looks fine but these are yellow, spindly and look about to die. They have been outside in full sun, protected at night and kept well hydrated. They look really sick so I am not sure what is going on with them. Should I just plant them out in the garden and hope for the best? I use Espoma organic potting soil in the 4" pots. I have not yet fed them anything.

Leave a comment

This site is protected by hCaptcha and the hCaptcha Privacy Policy and Terms of Service apply.