
growing guide
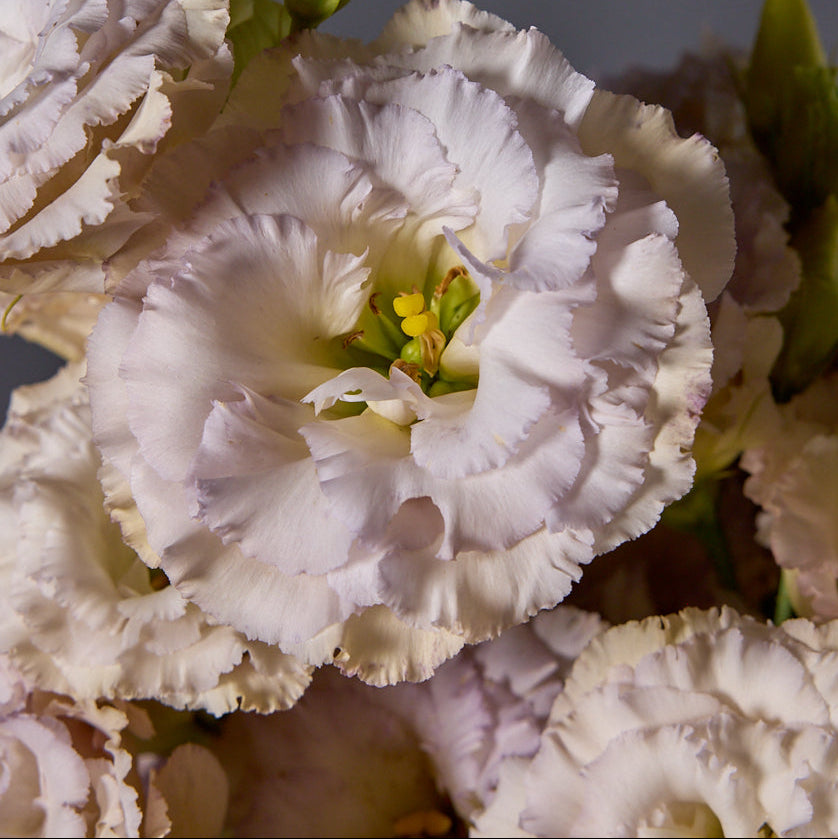
Poppy
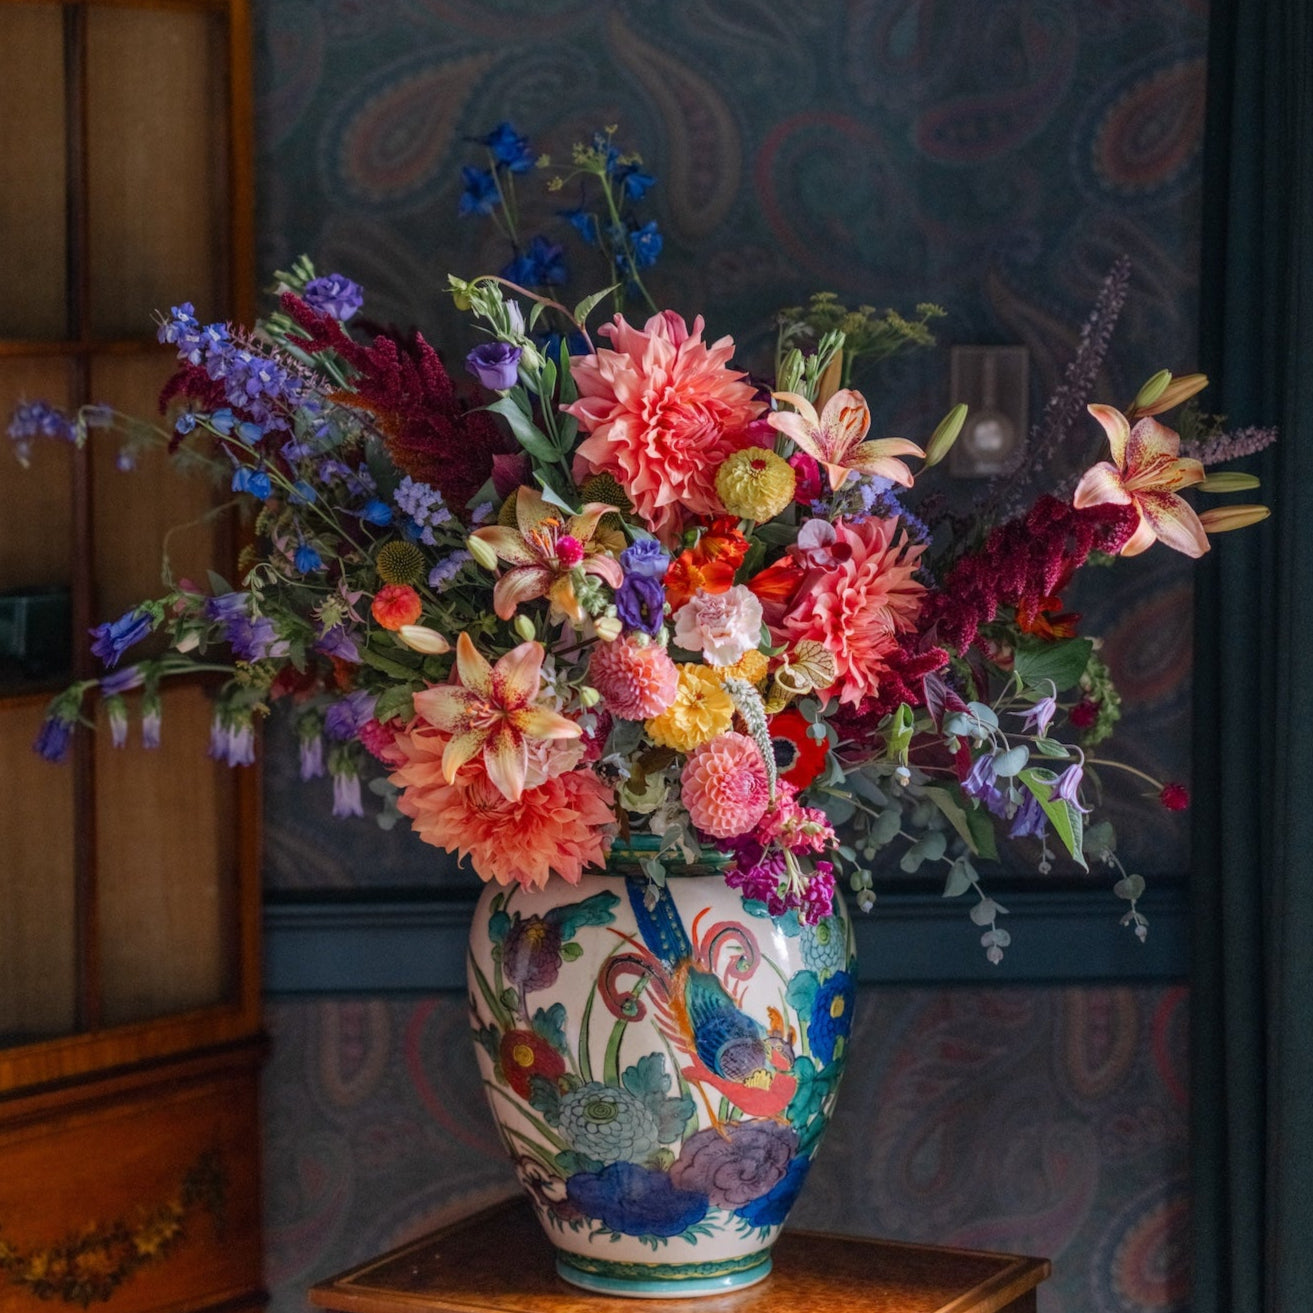
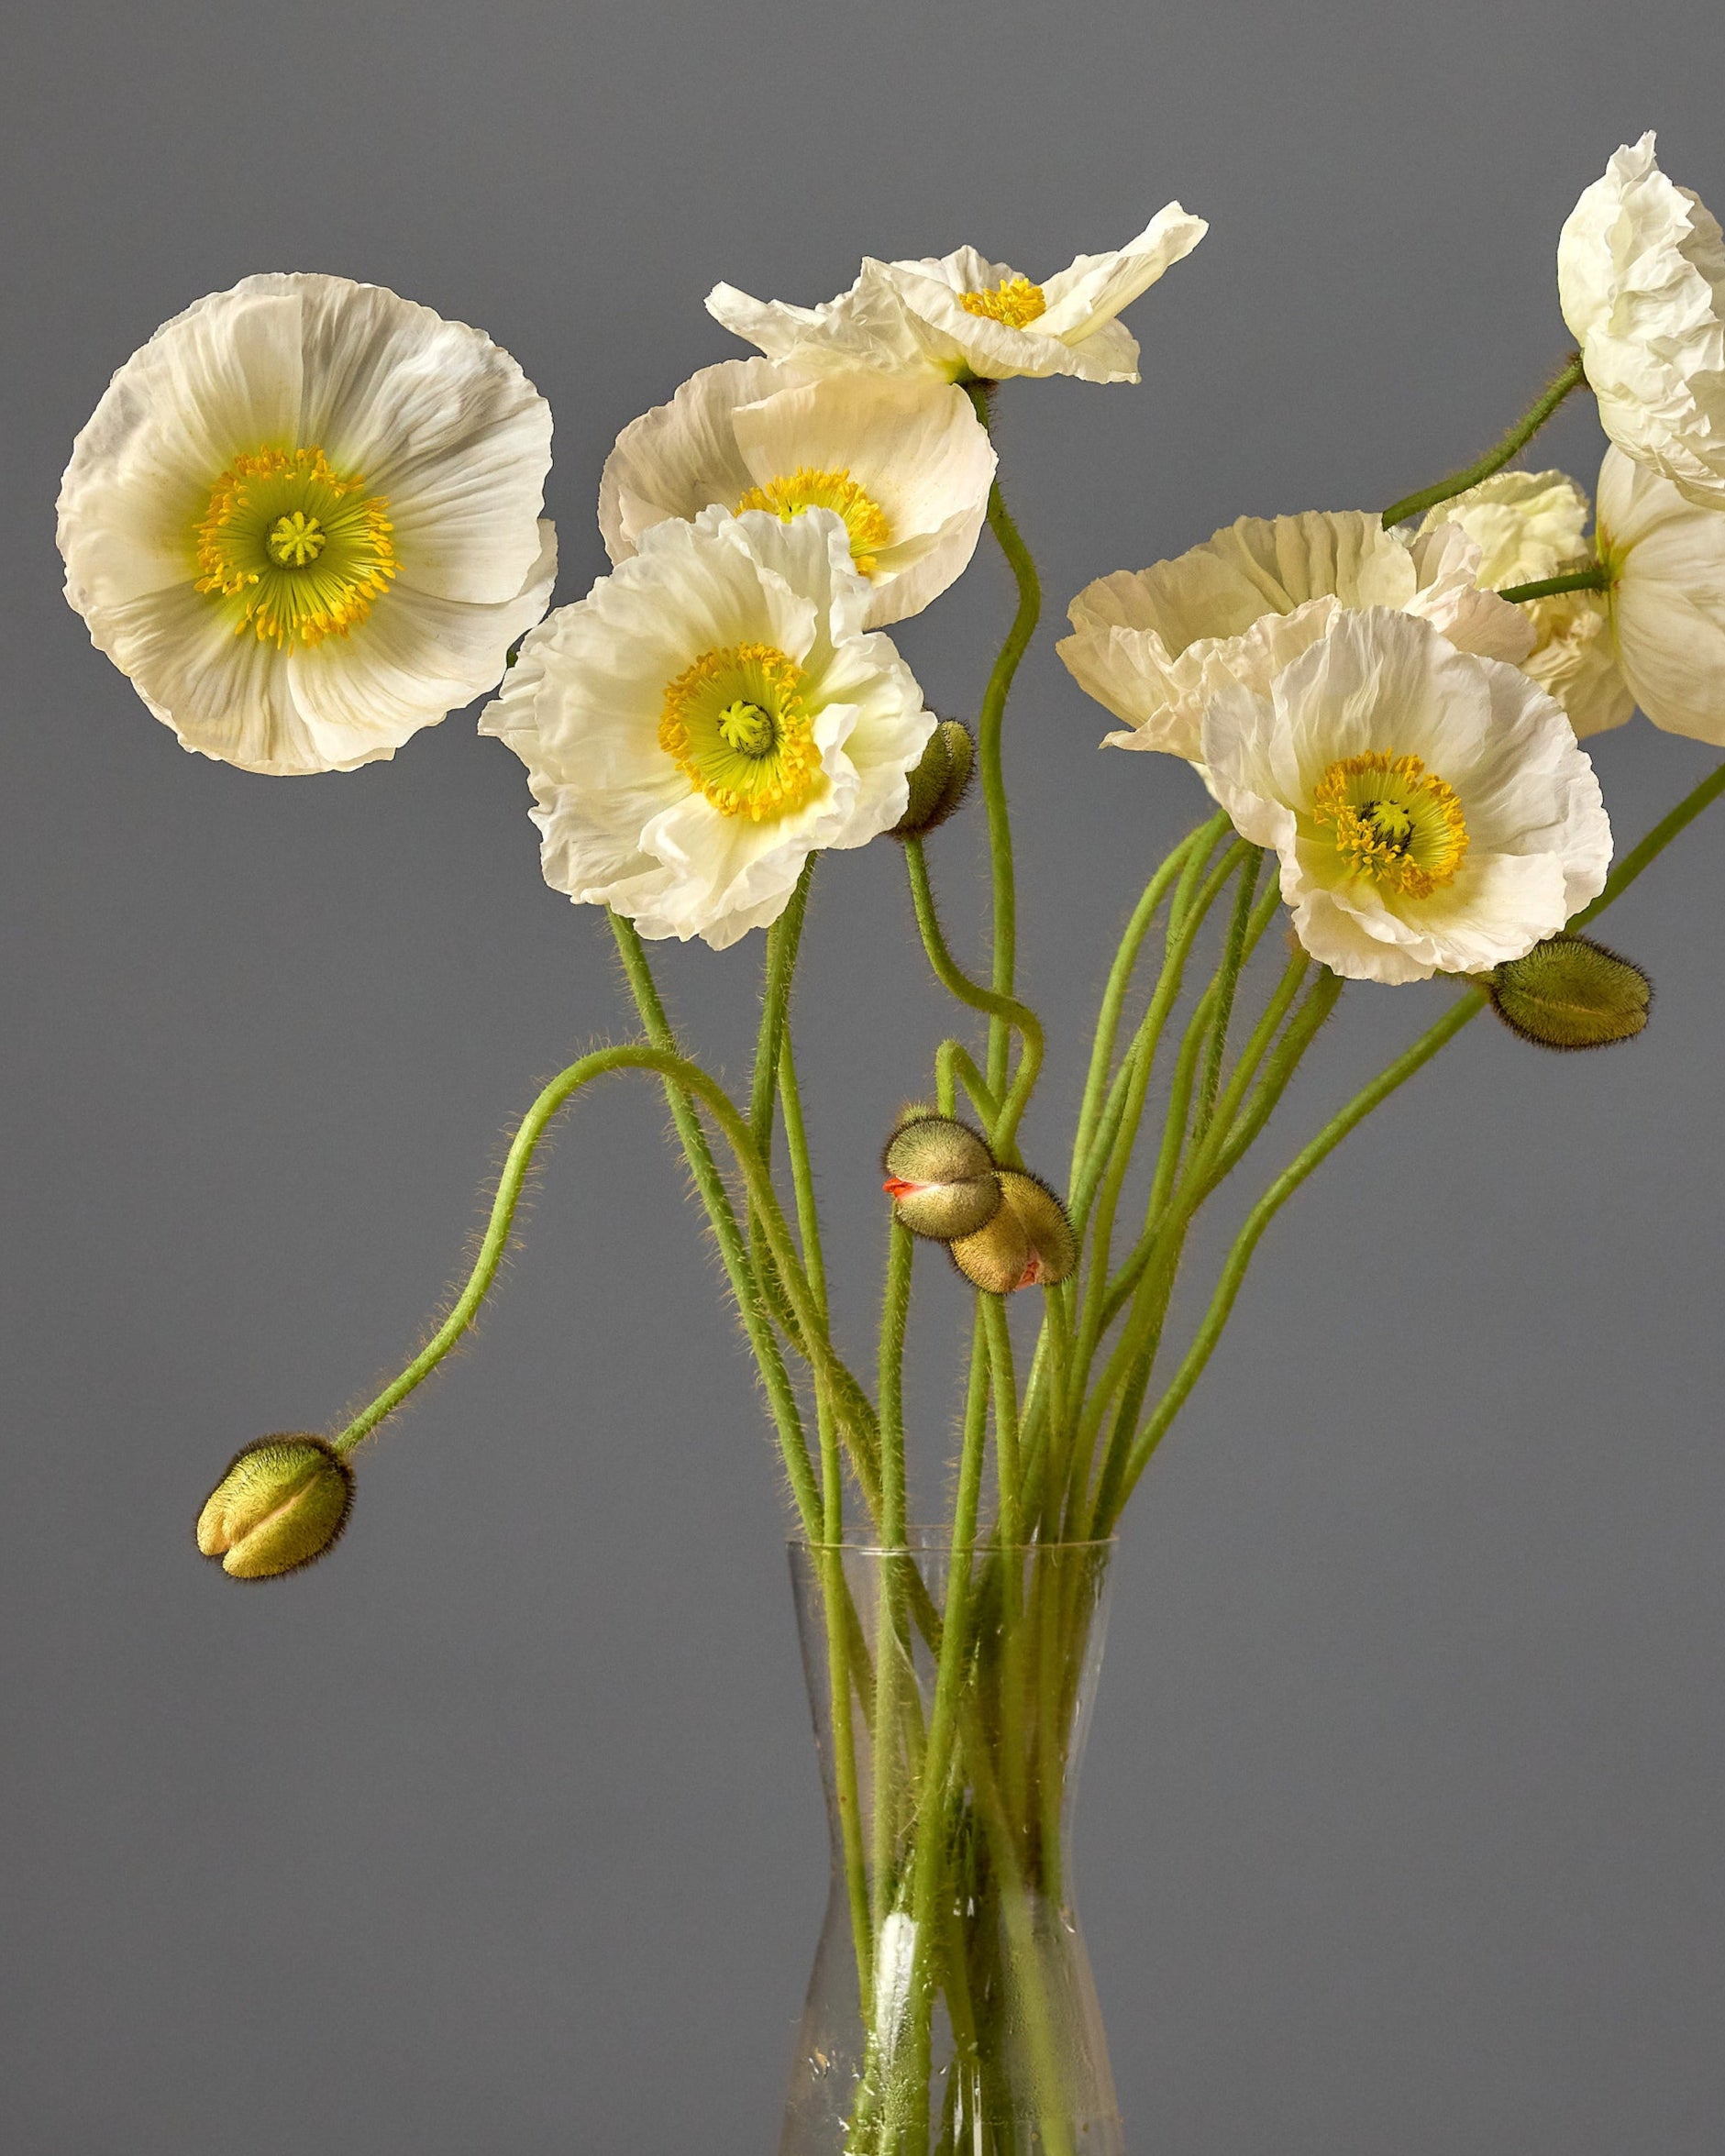
Few flowers can compete with the delicately ruffled crepe-paper petals of the Icelandic poppy, especially while they flutter in the spring breeze. They are a crowd favorite, bringing joy to everyone who sees them, even those that may not be as horticulturally savvy. In recent days they have been made even more popular after being showcased in the movie ‘Wicked’, but really, they are an ancient flower that was first described in the 18th century. Wild types were typically yellow, and thanks to plant breeders we now have a range of colors including bright reds and oranges and a whole range of soft pastel hues. Papaver nudicaule are quite hardy, cold-resistant plants despite their delicate appearance; they are reliably hardy in USDA zones 3-7 and can be grown as an annual in warmer zones. Notoriously tricky to start from seed, many gardeners shy away from the challenge; we are happy to offer both ‘Champagne Bubbles’ and ‘Hummingbird’ cultivars to help home gardeners succeed with these amazing plants.
growing guide
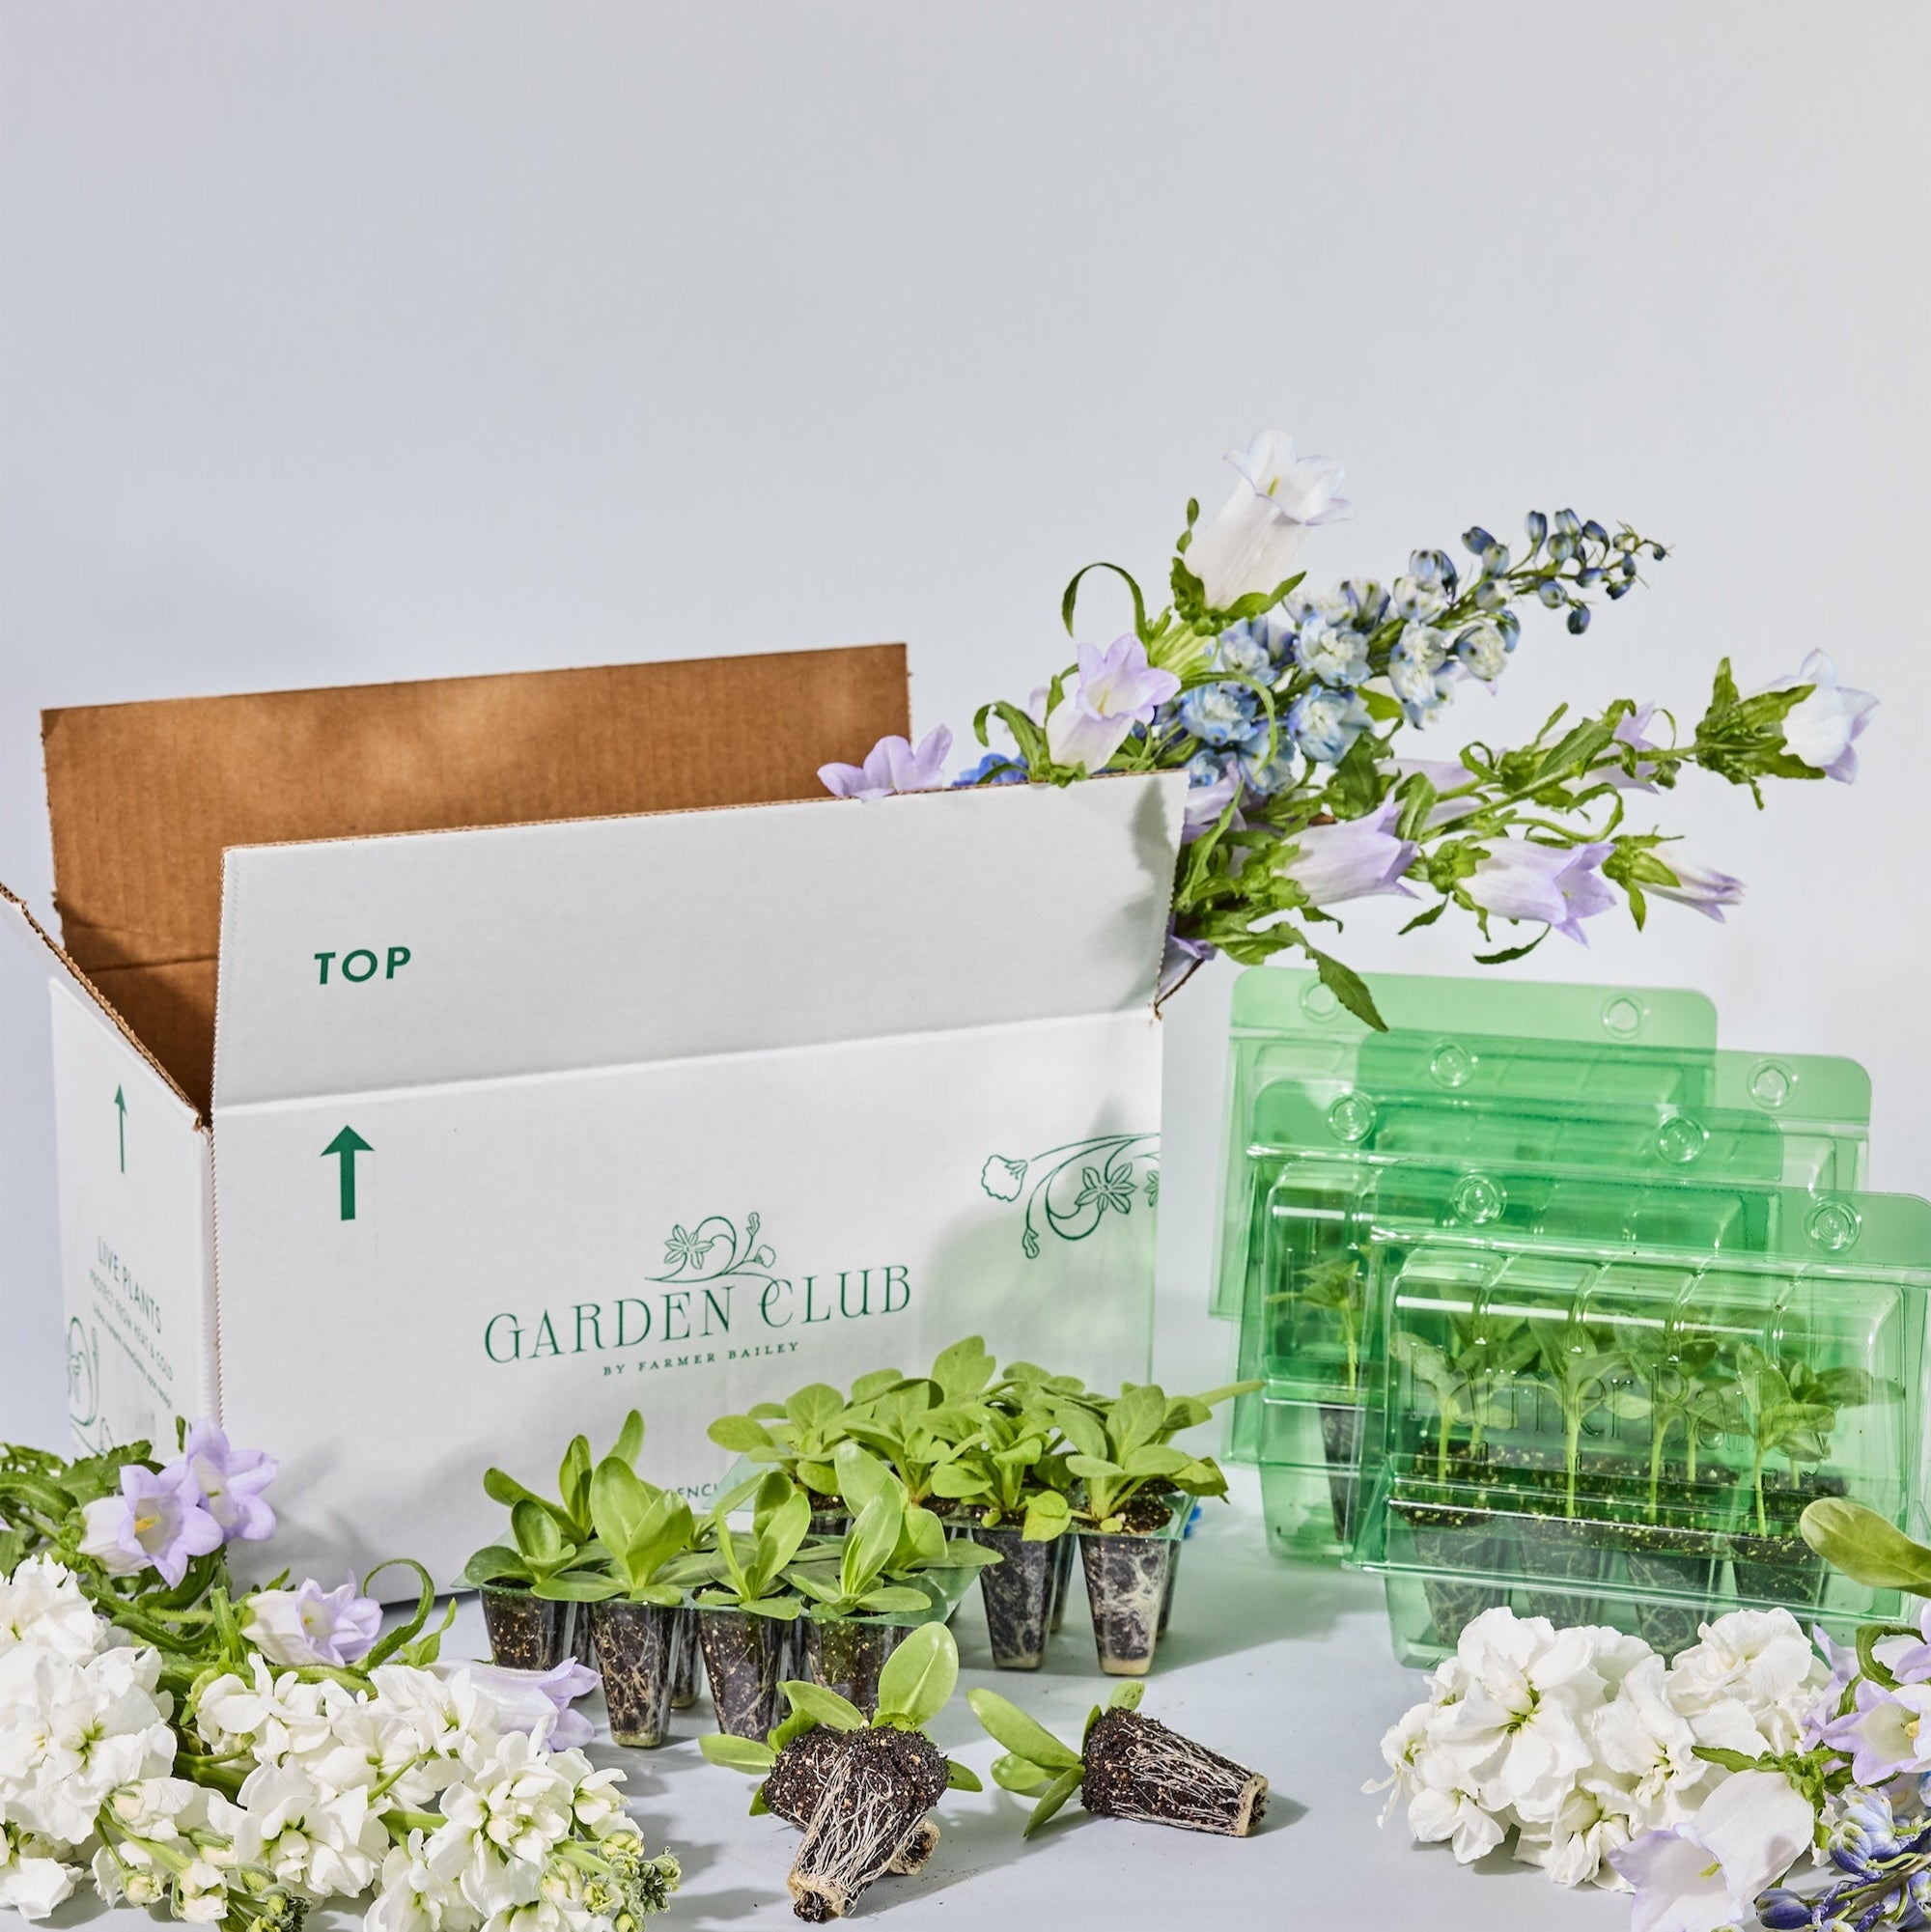
preparation
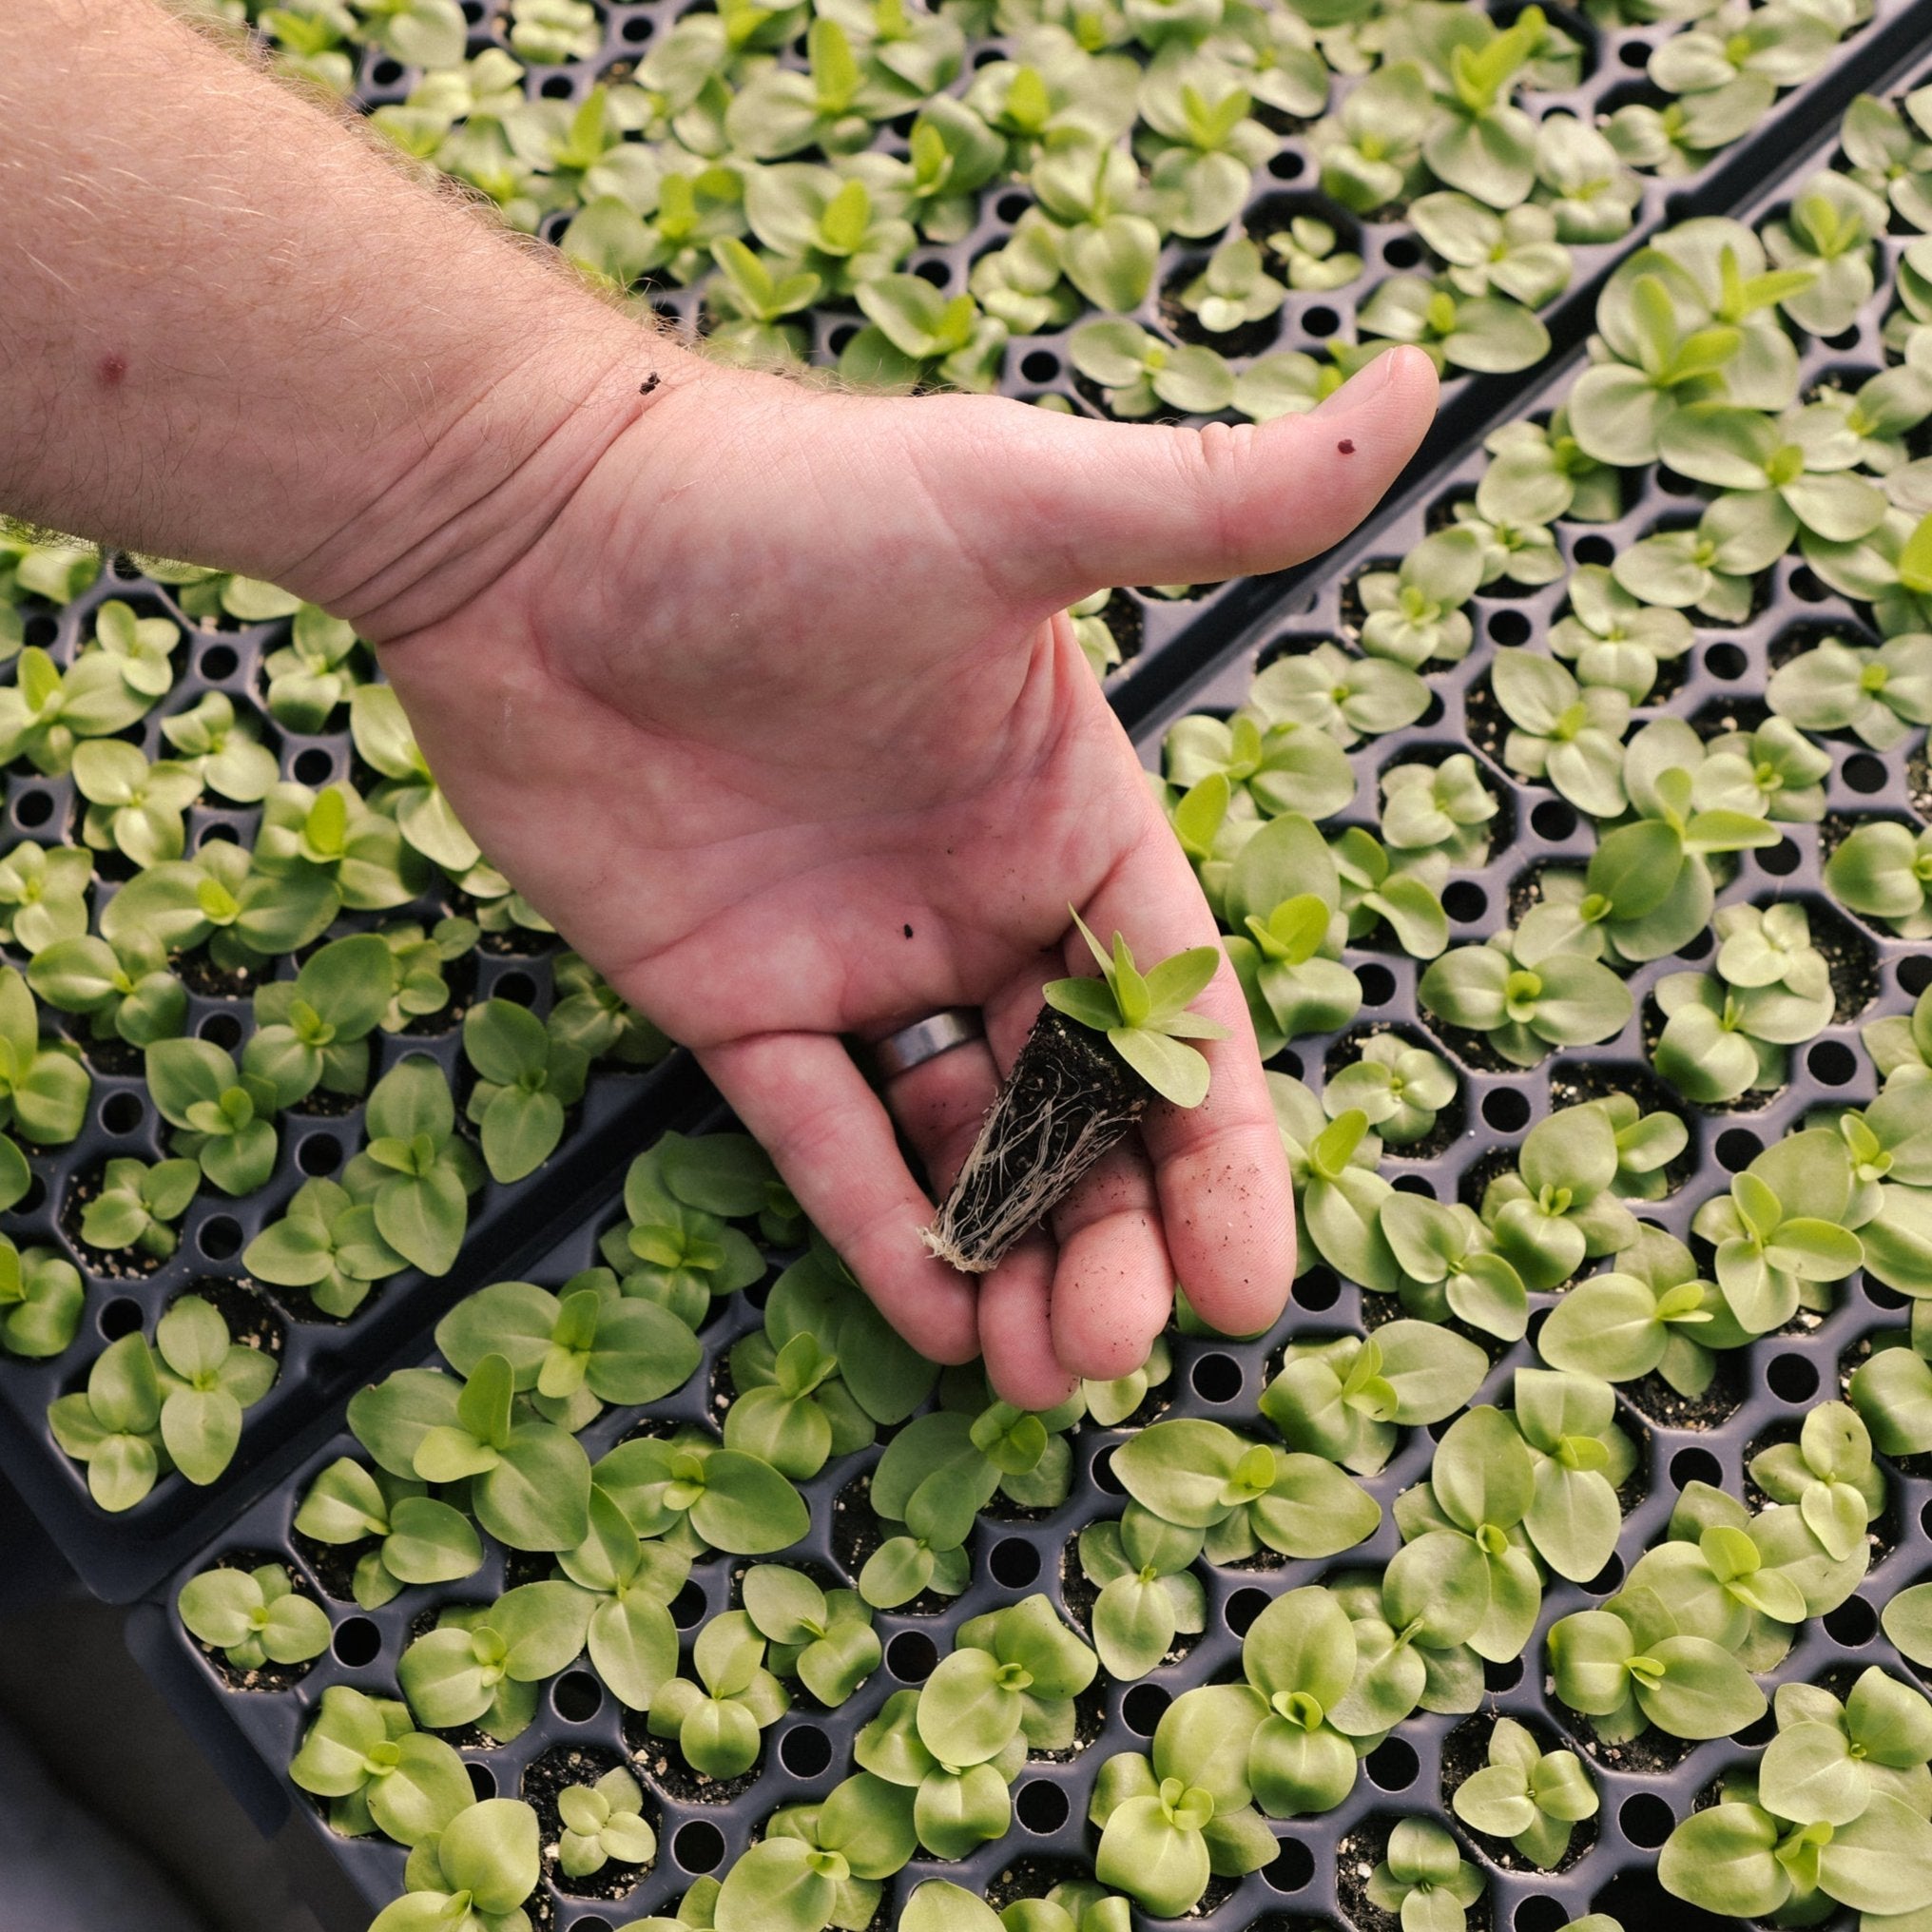
If you live in the north (zones 3,4 and 5), order Icelandic poppy plugs to be delivered about a month before your last frost in the spring – these plants like it cold and suffer in warm conditions. If you live in warmer areas (zone 6 or higher) we suggest you fall-plant your Icelandic poppy plugs. Order them for delivery in October or later, when the temperatures have had a chance to drop. Young poppy plants are frost tolerant and can handle hard frosts when planted in the ground; the ideal temperatures for active growth are between 28- and 70-degrees Fahrenheit. They will grow slowly on mild, sunny days, and by mid-spring they will be a sizeable clump of leaves with lots of fuzzy pod-like buds. When the plugs arrive, take a couple of days to harden the plants off to outdoor conditions, but plant them within a week of arrival to prevent any stress from occurring while in the plug trays. Plant into loose, well-draining yet moisture retentive soil; medium fertility will result in the best quality plants. If your soil lacks fertility or does not drain freely, amend prior to planting with compost and some granular fertilizer.

growing guide
Growing
Give your Icelandic poppy plants space to grow and mature without being too crowded – for the Champagne Bubbles series we recommend at least 6” and the Hummingbird poppies need at least 9-12” due to their larger size. As with most plants, the more room you can give them, the happier they will be as the increased airflow will decrease the chances of fungal infection during wet periods. Plant in full sun, as Icelandic poppies will struggle in shady conditions. Water regularly – the goal is to keep the soil damp but not over-saturated. If the soil they are growing contains adequate nutrients, the poppies shouldn’t need additional fertilizer, but as with most plants they would benefit from some light feedings of a balanced water-soluble fertilizer during periods of active growth. Pinching and staking are not necessary – the plants naturally form a clump of leaves, and the wiry, wind-resistant flower stems will emerge from the center. Bloom time can vary widely depending on your climate, and when the plugs were planted – in the south, poppies will start blooming late winter, and in the north, they will start blooming mid-spring. Regardless of where you’re growing, Icelandic poppies despise high heat and will start shutting down production as the temperatures climb. Watch for thrips as they love poppies for the high pollen content and will enter and damage buds preventing them from opening properly. Botrytis in the buds can be an issue in areas with high spring precipitation.

growing guide
Cut Flower tips
You can’t grow Icelandic poppies and not bring some buds inside to watch them unfurl from the comfort of your home; it’s a magical process. Cut flower stems close to the base when the bud is just cracking and showing some colour along the lip. We suggest harvesting early in the morning or late in the evening when the sun is less intense and the plants are the most hydrated. Poppies will go from the ‘cracked bud’ stage to fully blown open in a matter of hours, so you need to scout for the right harvest stage regularly. To keep the cut stems hydrated, take a lighter and sear the cut end of the stem (about ¼” of the stem should be fine) immediately after cutting. This seals off the cut and keeps the milky sap from seeping out of the cut end in the vase. After searing, arrange stems in a vessel containing fresh, clean water; changing the water regularly will help to keep it fresh, but do NOT re-cut the end of the stems or you will cut the sear off. In the warmth of your home, you can almost watch the buds unfurl in real-time, and before you know it, you’ll have gone from an arrangement of furry green pods to bright, ruffled blooms.