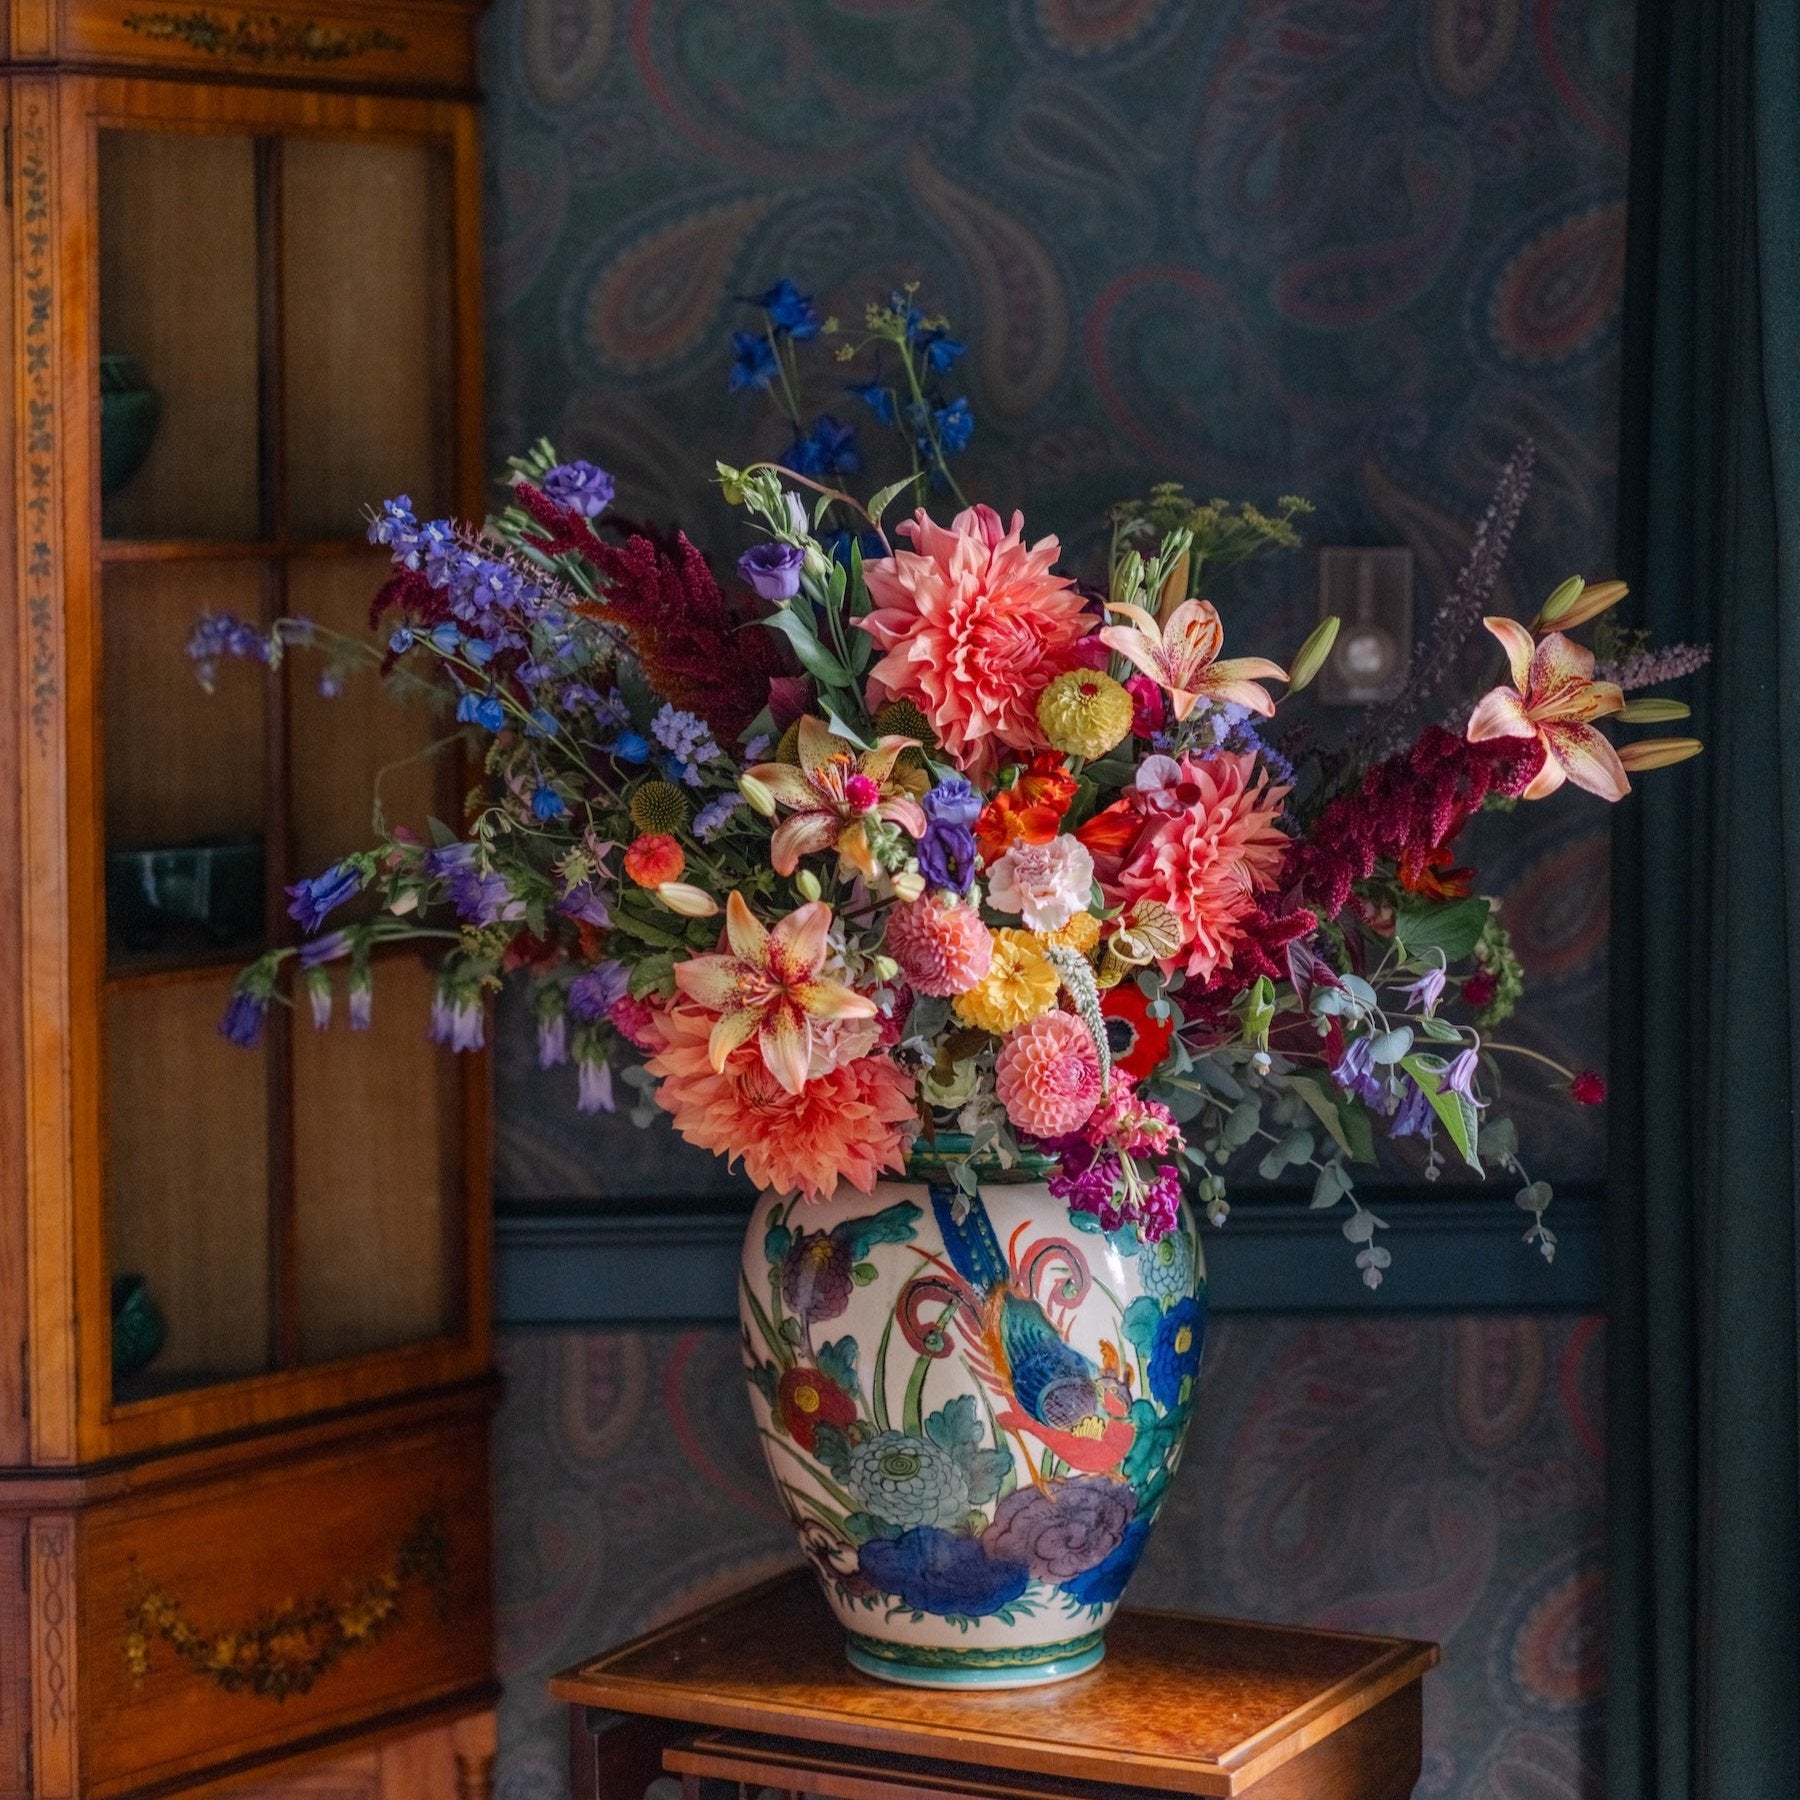
growing guide

Phlox (perennial)

If you’re looking for bright, bold perennial color in mid to late summer, garden phlox could be the perfect contender. Phlox paniculata (Polemoniaceae family) comes by many common names including summer phlox or tall phlox; these tall plants are a welcome addition to any perennial garden as they bloom after the spring flowering perennials fade away. They can be enjoyed in the garden by both people and pollinators and make a long-lived cut flower when brought inside. Happy within USDA hardiness zones 4-8, they can be grown across most of northern and central USA and thrive with minimal care or inputs, the perfect candidate for hands-off type gardeners.

growing guide

preparation

Order Phlox paniculata plugs to be delivered around the time of your last frost – they can be planted when the soil is on the cooler side in early spring but should not be exposed to hard frosts as new growth is tender. When the plugs arrive, harden them off to outdoor elements and plant them out soon after arrival to prevent the plugs from becoming rootbound or stressed in the plug trays. Prepare the growing site before planting by breaking up the soil and incorporating some compost and balanced granular fertilizer; phlox paniculata can tolerate most garden soils but prefer loose, well-draining, loamy soil that has good water retention and medium fertility. These plants will perform the best if planted in full sun – shady conditions will cause week, floppy growth and fewer flowers.

growing guide

Growing

Space plugs about 12-24 inches apart for a large singular clump of phlox once the plants reach maturity – in a garden setting you can also space them out more generously but know the plants won’t reach their full size for 3 or so years. The tighter spacing is recommended for more intensive cut flower production, but tight spacing also promotes lack of airflow and fungal issues, so the more space you can provide, the more airflow there will be around the plants and the healthier they will be. Pinching the plugs is not necessary as the plants will naturally send up more stems as they mature; don’t expect a big show in the first and second year after planting – the first thing newly planted plugs will do is work on a hearty root system to support more vegetative growth in coming years. You will see some flowers, but your patience will be rewarded with large clumps of flowers after the plants have a couple years to establish and size-up. When the flowers fade, cut the entire plant back to within a few inches from the ground and it will send up a second flush of blooms. These plants can grow quite tall – up to 3 or 4 feet when mature, but the stems are stiff and durable, and the plants can support large clusters of blooms without need for staking or additional support. Perennial phlox are notorious for succumbing to powdery mildew later in the summer, but the newer cultivars we are offering through Garden Club have resistance to powdery mildew bred into them. To avoid infection, try to keep the foliage dry when watering – prolonged periods of wet foliage can encourage fungal growth.

growing guide

Cut Flower tips

Perennial phlox can last over a week in the vase, so we encourage you to cut some stems to enjoy inside. The ideal time to cut phlox flowers is when a couple florets in a cluster are fully open and the rest are still in bud. Place cut stems immediately into fresh, clean water and watch the buds unfurl over the course of a few days. To keep the flowers looking fresh, change the water regularly and re-cut the stems with each water change; floral food will help extend the vase life, but they will be happy in clean tap water as well. When harvesting phlox, cut them close to the ground, similarly to when you’re cutting the plants back after they have faded. This will encourage new stems from the base of the plant, providing additional flowers later in the season. If you notice flower production declines after 4 or 5 seasons, the plants may need to be divided; do this in the spring just as the plants are breaking dormancy, or in the fall when the plants are done growing for the year. Gently lift the root ball, and using a sharp spade cut it in half or into sections depending on its size – each section will eventually grow into a new clump.

Leave a comment

This site is protected by hCaptcha and the hCaptcha Privacy Policy and Terms of Service apply.